

Introduction
How to Use a Drop Safe at Home or in Business Settings
A drop safe offers secure, one-way deposit of cash or valuables while keeping contents out of reach. But here’s the kicker… using one correctly prevents theft, simplifies reconciliation, and adds a layer of protection both in homes and in busy retail or office environments. This guide walks you through selection, setup, operation, and maintenance.
1. Understand What a Drop Safe Is
A drop safe features a deposit slot or hopper that funnels items into a locked chamber. Once deposited, contents cannot be retrieved except by unlocking with the master key or code. This one-way design deters internal theft and keeps dropped cash or keys secure until an authorized person opens the safe.
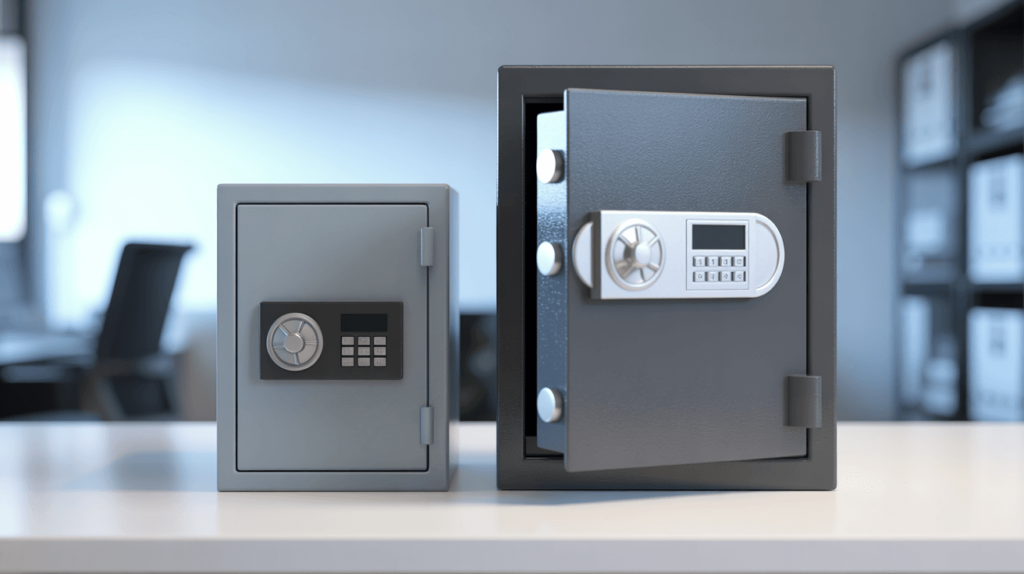
2. Choose the Right Drop Safe Model
Models vary by capacity, slot size, and security features. Small home models fit envelopes and jewelry, while business safes handle cash bundles or coin bags. Look for rated steel thickness, UL certification, and anti-fishing baffles that prevent retrieval through the slot. Ready for the good part? Higher-security options include time-delay locks and dual-control requirements.
3. Determine Ideal Placement
Placement affects both accessibility and security. In homes, install in a closet or hidden alcove. In businesses, choose a behind-the-counter location with limited public access. Mount at waist height for easy deposits but out of customer reach to discourage tampering. What’s the real story? Proper placement also influences anchoring and wiring routes.
| Location | Visibility Level | Access Control |
|---|---|---|
| Hidden Closet | Low | Household only |
| Back-office Counter | Medium | Staff only |
| Public Lobby | High | Requires CCTV |
4. Install and Anchor the Safe
Secure anchoring prevents removal or tipping. For floor safes, use concrete anchors; for wall or counter models, use heavy-duty lag bolts into studs or masonry. Follow manufacturer torque specs. Seal any gaps around the base to prevent pry tool insertion. But here’s the kicker… a properly anchored safe withstands even determined theft attempts.
5. Set Up the Locking Mechanism
Drop safes come with mechanical key locks, electronic keypads, or dual locks. Program user codes and change defaults immediately. For high-security needs, enable time-delay functions that refuse access for a set interval after opening. Store the master key in a separate secure location to prevent unauthorized duplication.
6. Train Users on Deposit Procedures
All authorized users must understand how to feed items into the hopper correctly—no jamming or overstuffing. Demonstrate safe insertion angles for envelopes, coin bags, or keys. Emphasize the one-way nature: once dropped, items cannot be retrieved without opening the safe. This is where it gets interesting… clear procedures cut down on deposit errors and jams.
| Procedure Step | Best Practice |
|---|---|
| Slot Orientation | Feed long edge first |
| Envelope Folding | Fold in thirds, flat against back wall |
| Coin Bag Sealing | Use tamper-evident bags |
7. Establish Cash-Handling Policies
Define deposit schedules—end-of-day or shift-end drops—to reduce onsite cash exposure. Limit keys to supervisory staff. Require dual sign-off for opening and emptying the safe. Maintain a logbook recording who dropped and who accessed the safe, with timestamps for every action.
8. Maintain Daily Drop Operations
Ensure the hopper remains free of obstructions. Empty the deposit chamber on schedule, counting and recording contents immediately. Inspect for signs of tampering around the slot and door. You might be wondering… what if a jam occurs? Always keep a manual override tool or procedure documented.
| Task | Frequency |
|---|---|
| Slot Inspection | Daily |
| Deposit Chamber Empty | Daily/Shift-End |
| Tamper Check | Daily |
9. Reconcile Deposits Regularly
Compare contents against sales records or inventory logs. Investigate discrepancies immediately. Use batch-numbered deposit bags to track specific transactions. Ready for the good part? Regular reconciliation deters internal theft and reveals errors before they compound.
10. Secure Access for Authorized Personnel
Limit key or code distribution to trusted individuals. Rotate user codes quarterly and reissue keys if staff changes occur. Keep a sealed envelope in a secure location containing the master key in case of emergencies. Encourage staff to report any lost keys or unauthorized code sharing promptly.
11. Perform Periodic Audits
Schedule monthly or quarterly audits by an independent supervisor. Verify logs, inspect for unauthorized access, and test lock functionality. Document audit findings and corrective actions. What’s the real story? audits reinforce accountability and highlight procedural gaps.
12. Conduct Emergency Drills
Simulate power failures, code lockouts, or key loss scenarios. Practice using backup power supplies for electronic locks and manual override keys. This is where it gets interesting… drills reveal weaknesses in your access and recovery procedures before a real crisis strikes.
| Drill Type | Objective |
|---|---|
| Power Failure Test | Verify battery or generator backup |
| Code Lockout Drill | Validate emergency code reset process |
| Key Loss Simulation | Practice master key retrieval |
13. Schedule Maintenance and Inspections
Arrange annual professional inspections of lock mechanisms, hinges, and anchoring hardware. Lubricate moving parts with manufacturer-approved products. Replace worn gaskets and check electronic lock firmware updates. But here’s the kicker… proactive maintenance extends safe life and reliability.
14. Integrate with Business Workflows
Link drop-safe operations into point-of-sale or accounting systems. Use software alerts when deposit chambers reach capacity. Generate automated reconciliation reports. You might be wondering… technology integration boosts efficiency and reduces human error.
15. Upgrade or Replace When Necessary
Monitor wear on locks, hinges, and deposit hoppers. If jams become frequent or the safe shows signs of forced entry, plan for replacement. Evaluate new models offering smarter features: biometric access, audit trails, and remote monitoring. Ready for the good part? a timely upgrade keeps security ahead of evolving threats.
FAQ
Q1: What is a drop safe?
A drop safe features a one-way hopper allowing deposits but prevents removal until an authorized unlock.
Q2: Can I install a drop safe myself?
Yes, with basic tools and proper anchors you can self-install; follow the manufacturer’s guide closely.
Q3: How often should I change access codes?
Rotate user codes every three months or immediately after any staff change.
Q4: What do I do if deposits jam?
Keep a jam-clear tool nearby and train staff on safe-jamming procedures to clear the slot safely.
Q5: How do I audit drop safe usage?
Review logbooks, inspect for tamper marks, test locks, and reconcile deposits on a monthly or quarterly basis.

