 跳到内容
跳到内容 

Introduction
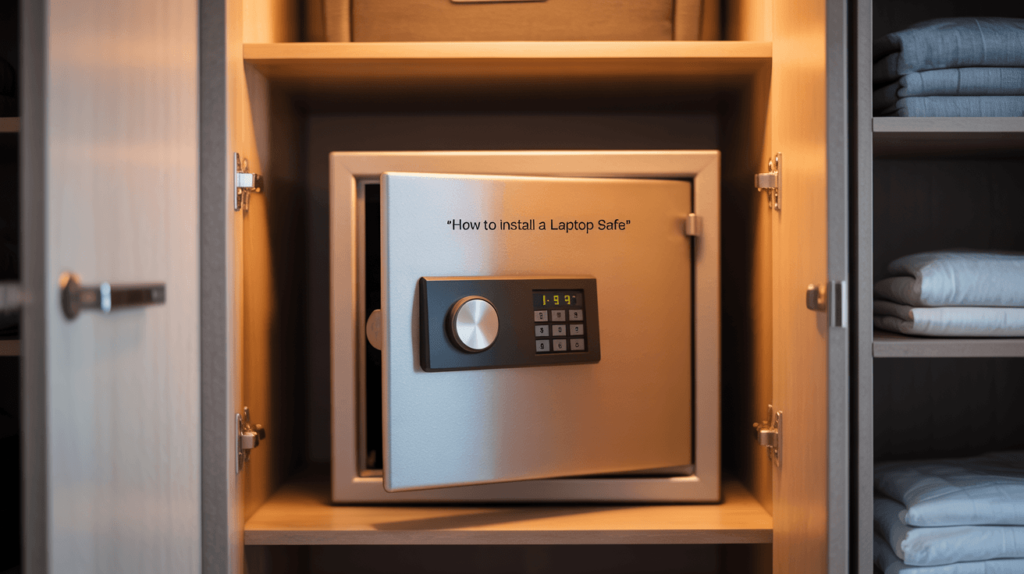
How to Install a Laptop Safe in Your Hotel Room or Closet
Properly installing a laptop safe ensures your device stays protected from theft and unauthorized access. But here’s the kicker… with the right placement, anchoring, and setup, you can integrate security seamlessly into any room. This guide walks you through model selection, site prep, mounting, and final checks so your laptop safe works flawlessly.
1. Select the Appropriate Safe Model
Begin by choosing a safe rated for laptop dimensions—typically up to 17 inches diagonally. Look for models with digital keypad locks and solid steel construction. For hotel rooms, prioritize compact designs that fit in closets or under desks without sacrificing security. In residences, you can opt for slightly larger safes with extra interior shelves for accessories and documents.
2. Determine Ideal Location
Decide whether to mount inside a closet, under a desk, or behind fixed furniture. Closets offer concealment, while desk installation allows quick access. Ensure the chosen spot is dry, level, and free from obstructions. Avoid areas near HVAC vents or windows that expose the safe to moisture or prying eyes.
3. Prepare the Mounting Surface
Solid wood studs or concrete walls provide the best anchoring support. Use a stud finder to locate wood framing, or inspect masonry for solid areas. Clear the surface of obstacles and mark drill points according to the safe’s anchor-hole template. Wear safety goggles and ensure cables or pipes won’t be damaged when drilling.
| Surface Type | Anchor Hardware | Drill Bit Size |
|---|---|---|
| Wood Studs | Lag bolts with washers | ⅜” |
| Concrete Wall | Sleeve anchors | ⅝” masonry bit |
| Drywall (Closet) | Toggle bolts | ½” |
4. Position and Level the Safe
Place the safe against the marked area and check for level alignment using a bubble level. Level installation prevents unnecessary stress on doors and lock mechanisms. Have a second person hold the safe as you insert the first anchor bolt loosely, then adjust before tightening all bolts in a crisscross pattern to ensure even pressure.
5. Drill Anchor Holes
Using the marked guide, drill pilot holes at each anchor location. For masonry, drill fully through the drywall and into the block or concrete. Clean out debris from each hole with a brush or compressed air. Insert anchors or sleeves until flush with the surface, then position the safe and secure each bolt lightly before final torque.
6. Secure the Safe to the Wall or Floor
Tighten each anchor bolt gradually, alternating corners to keep the safe seated squarely. Do not overtighten, as this can strip anchor threads or warp the safe body. After all bolts are snug, test the safe’s stability by gently pushing and pulling; there should be no movement.
| Anchor Method | Location | Stability Rating |
|---|---|---|
| Lag Bolts | Wood framing | Very High |
| Sleeve Anchors | Concrete | Very High |
| Toggle Bolts | Hollow walls | Medium |
7. Install Batteries and Set Code
Open the battery compartment—usually inside or beneath the safe door—and insert recommended batteries. Many safes use four AA cells. Close the compartment and enter your master code, then program user codes following the manufacturer’s instructions. Test each code multiple times before closing the door.
8. Test Lock and Door Operation
With the door open, engage and disengage the lock repeatedly. Verify smooth bolt movement and that the door seals flush against the frame. Close the door, enter your code, and ensure the safe unlocks instantly. Also test any emergency key or backup unlocking methods provided.
9. Anchor to Floor (Optional for Closets)
For added security, secure the safe floor-to-wall or floor-to-baseboard as well. This dual anchoring resists leverage attacks using crowbars. Drill through the safe’s bottom flange into the floor joist or concrete slab, and use appropriate anchoring bolts to complete installation.
| Anchor Location | Bolt Type | Security Level |
|---|---|---|
| Floor Joist | Lag bolt | High |
| Concrete Slab | Wedge anchor | Very High |
| Baseboard Area | Short sleeve anchor | Medium |
10. Conceal Installation Hardware
Cover exposed bolt heads with provided plastic caps or matching paint to blend with room décor. If the safe is placed in a closet, line the back wall with removable panels to hide anchors completely. A tidy finish discourages tampering and maintains aesthetics.
11. Configure Interior Organization
Adjust the safe’s internal tray or shelf to fit your laptop and accessories snugly. Use foam padding or Velcro straps to prevent movement during door operation. Add a small LED light strip inside to illuminate contents for quick nighttime access.
12. Integrate Alarm or Monitoring
If your safe supports alarm connections, wire it to your existing security system using the provided input leads. Configure alarm triggers for door opening, tamper attempts, or low battery alerts. Test each alarm scenario to confirm correct signal transmission to your panel or monitoring service.
| Alarm Trigger | Notification Type | Response Action |
|---|---|---|
| Door Forced | Siren + alert | Security dispatch |
| Low Battery | Console beeping | Replace batteries |
| Tamper Sensor | App notification | Log event |
13. Perform Final Security Check
Walk through all access methods: digital code entry, emergency key override, and alarm triggers. Inspect anchor points for looseness and confirm the door aligns perfectly. Ask another person to observe for any gaps or misalignment when the door is closed.
14. Provide User Training
Show all authorized users how to enter the code, operate the lock, and access the emergency key override. Demonstrate how to change codes and where spare batteries are stored. Encourage users to practice monthly so code entry becomes second nature in an emergency.
15. Schedule Ongoing Maintenance
Set calendar reminders for quarterly lock lubrication, biannual anchor-torque checks, and annual battery replacement. Keep a simple maintenance log near the safe to record each service date. Consistent upkeep ensures your laptop safe remains reliable and protects your valuable devices for years.
FAQ
Q1: Can I install a laptop safe without professional help?
Yes—if you have a drill, level, and basic tools, following the manufacturer’s guide carefully makes DIY installation feasible.
Q2: What wall materials work best for anchoring?
Solid wood studs and concrete walls offer the highest stability; hollow drywall requires toggle bolts but is less secure.
Q3: How often should I change the safe’s access code?
Change your code every three to six months or whenever personnel with access change to maintain security.
Q4: Will drilling weaken my closet’s structural integrity?
When anchors are placed correctly into studs or concrete, the impact is minimal and does not compromise strength.
Q5: What if my safe door sticks after installation?
Check for level alignment and proper bolt seating; loosen and remount if necessary to eliminate binding.


