 跳到内容
跳到内容 

Introduction: What is a Safe Deposit Box?
In an era where safeguarding your most prized belongings is non-negotiable, a secure storage solution becomes essential. Picture a fortified chamber, meticulously designed to protect your treasures from theft, disasters, and the wear of time. Offered by financial institutions and private vault providers, these containers are more than mere metal lockers—they are a haven for items you can’t afford to lose. From precious family heirlooms and rare artifacts to vital paperwork like property deeds and legal documents, these units offer unmatched security. But how do you secure one for yourself? Whether you’re preserving sentimental keepsakes or shielding critical records, this step-by-step guide will reveal everything you need to know about obtaining and optimizing a secure storage unit. Let’s explore how to protect what matters most with confidence.

Why You Might Need a Secure Storage Unit
When it comes to protecting what matters most, not all solutions are created equal. A secure storage unit offers a level of protection that goes beyond what you can achieve at home. Here’s why you might need one:
2.1. Protecting Valuables from Theft
Home storage, no matter how cleverly concealed, can never match the security of a fortified vault. Burglars often target residences, knowing that safes at home can be compromised. Secure storage units, on the other hand, are housed in highly guarded facilities with advanced surveillance, alarms, and restricted access. This makes them virtually impenetrable, ensuring your prized possessions remain out of reach from unauthorized hands.
2.2. Safeguarding Important Documents
Certain papers are simply too critical to risk losing. Legal records like wills, property deeds, and birth certificates are not only difficult to replace but also essential for navigating life’s major milestones. Storing these in a secure unit ensures they’re protected from damage, loss, or misplacement. Whether it’s a marriage certificate or a business contract, having these documents safely tucked away provides peace of mind.
2.3. Storing Irreplaceable Items
Some belongings carry value far beyond their monetary worth. Family heirlooms, rare collectibles, and sentimental keepsakes often hold irreplaceable emotional significance. A secure storage unit acts as a sanctuary for these treasures, shielding them from fire, water damage, or accidental destruction. Whether it’s a vintage watch passed down through generations or a rare coin collection, these items deserve the highest level of protection.
Types of Secure Storage Solutions
Not all storage options are the same, and choosing the right one depends on your needs, budget, and accessibility preferences. Here’s a breakdown of the most common types available:
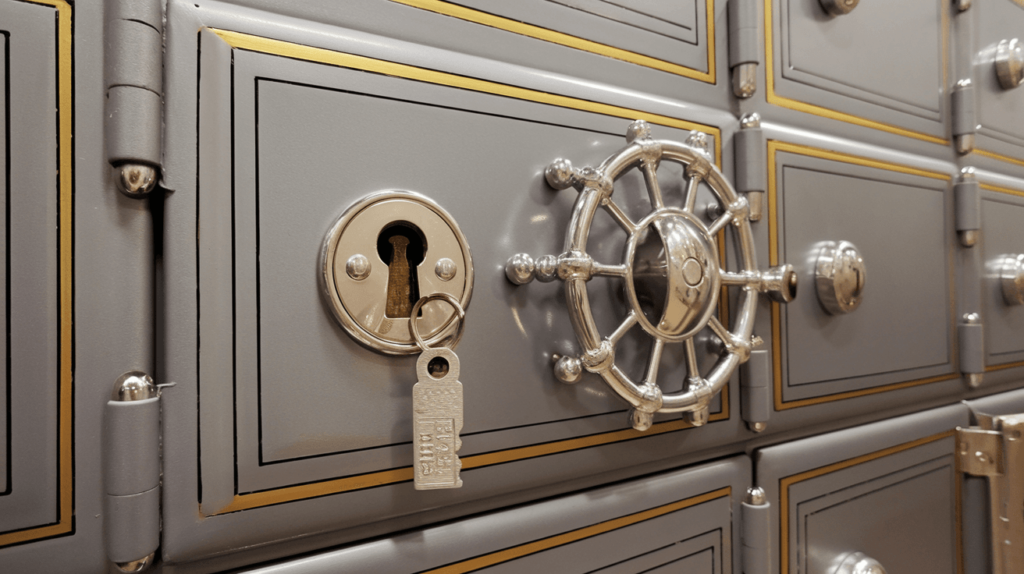
3.1. Bank Safe Deposit Boxes
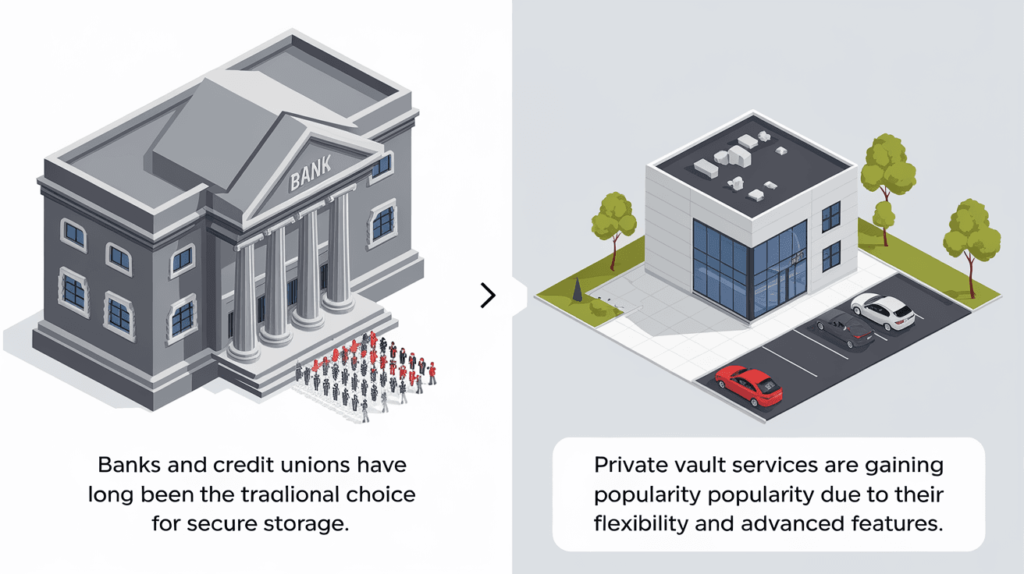
Banks and credit unions have long been the go-to providers for secure storage. These units are typically housed in heavily guarded vaults within the institution, offering high-level protection against theft and natural disasters. While access is limited to banking hours, the peace of mind that comes with institutional-level security is unmatched. Ideal for those who prioritize safety over frequent access, these boxes are a trusted choice for storing valuables and critical documents.
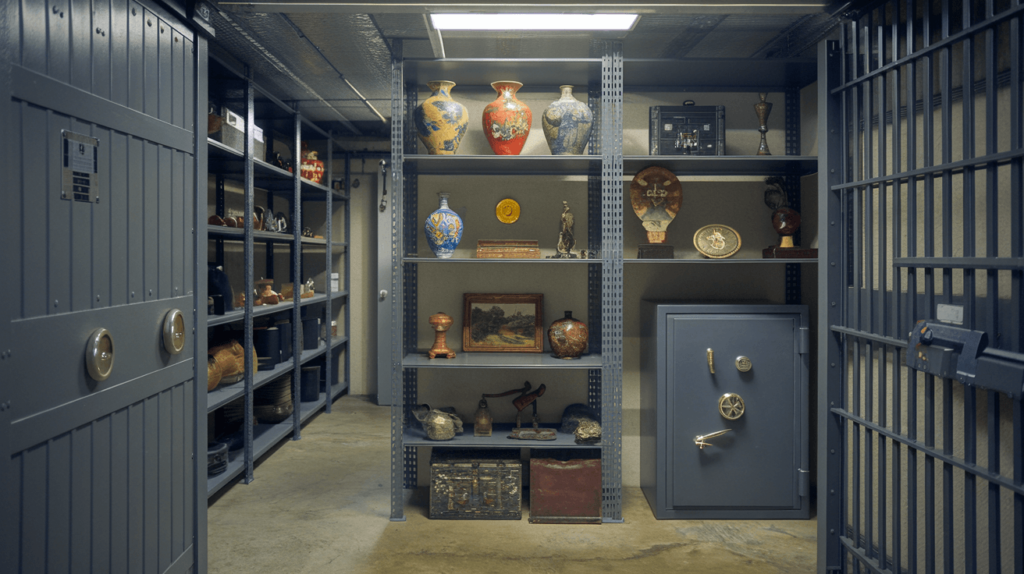
3.2. Private Vault Services
For those seeking more flexibility and advanced features, independent companies provide specialized storage solutions. Private vaults often offer extended access hours, state-of-the-art security systems, and additional services like insurance and climate control. These facilities cater to a wide range of needs, from storing rare art collections to safeguarding digital media. If you value customization and convenience, private vault services are worth exploring.
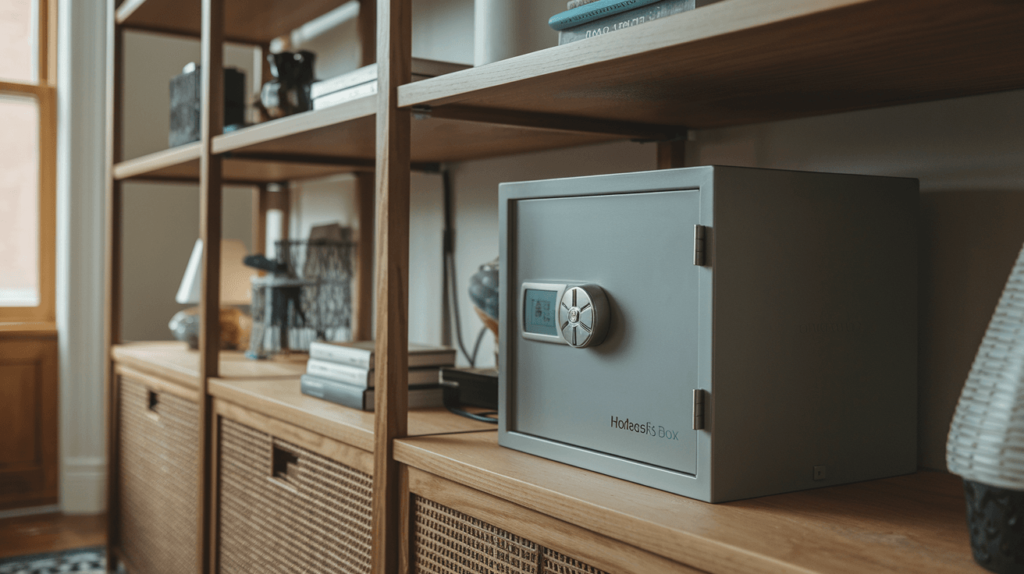
3.3. Home Safe Deposit Boxes
If frequent access is a priority, portable storage units designed for home use might be the right fit. These compact safes are perfect for keeping smaller items like jewelry, cash, or important papers within arm’s reach. While they may not offer the same level of protection as bank or private vaults, modern home units come equipped with fireproof and waterproof features, making them a practical choice for everyday security.
Step 1: Determine Your Needs
Before diving into the process of securing a storage unit, it’s crucial to assess your specific requirements. Understanding what you need will help you make informed decisions and avoid unnecessary expenses. Here’s how to get started:
4.1. What Will You Store?
Begin by creating a detailed inventory of the items you plan to protect. Are you looking to safeguard legal documents like wills and property deeds? Or perhaps you need to store valuable jewelry, rare collectibles, or sentimental keepsakes? Make a checklist to ensure you account for everything. This will not only help you choose the right type of storage but also determine the level of security and features you’ll need.
4.2. How Often Will You Access It?
Consider how frequently you’ll need to retrieve or add items. If you require regular access—for example, to update business records or retrieve important papers—a facility with flexible hours or a home storage unit might be ideal. On the other hand, if you’re storing items for long-term preservation, such as family heirlooms or emergency cash reserves, a bank or private vault with limited access could be more suitable.
4.3. Size Requirements
Storage units come in various dimensions, so it’s essential to choose one that fits your needs without overspending. Start by measuring or estimating the size of the items you plan to store. For instance, a small box might suffice for documents and jewelry, while larger items like artwork or multiple file folders may require a bigger unit. Keep in mind that it’s better to opt for slightly more space than you currently need to accommodate future additions.
Step 2: Research Local Options
Once you’ve determined your storage needs, the next step is to explore the options available in your area. Not all facilities are created equal, and understanding the differences will help you make the best choice. Here’s what to consider:
5.1. Banks vs. Private Vaults
Banks and credit unions have long been the traditional choice for secure storage, offering robust protection within their heavily guarded premises. However, private vault services are gaining popularity due to their flexibility and advanced features. Banks often provide limited access hours, making them ideal for long-term storage. Private facilities, on the other hand, may offer extended hours, climate control, and additional services like insurance. Weigh the pros and cons of each to decide which aligns best with your needs.
5.2. Comparing Costs
Storage solutions come with varying price tags, so it’s essential to understand the full scope of expenses. Annual rental fees are the primary cost, but don’t overlook additional charges such as insurance, key replacement, or access outside standard hours. Some facilities may also require a deposit or charge for setup. Create a budget and compare multiple providers to find a balance between affordability and the level of security you require.
5.3. Location and Accessibility
Convenience plays a significant role in your decision. Choose a facility that’s easily accessible from your home or workplace, especially if you plan to visit frequently. Consider factors like parking availability, operating hours, and proximity to public transportation. For long-term storage, a slightly farther location might be acceptable, but for regular access, prioritize convenience to make your visits hassle-free.
Step 3: Visit Potential Facilities
Once you’ve narrowed down your options, it’s time to see the facilities in person. A firsthand visit allows you to evaluate the environment, ask critical questions, and ensure the provider meets your expectations. Here’s how to make the most of your tour:
6.1. Touring the Vault
During your visit, pay close attention to the overall condition of the facility. Is the vault area clean, well-maintained, and free of clutter? Look for visible security measures such as surveillance cameras, alarm systems, and secure entry points. A reputable provider will have robust protocols in place, including 24/7 monitoring and restricted access to authorized personnel only. These details are key indicators of how seriously the facility takes its role in protecting your belongings.
6.2. Asking the Right Questions
Come prepared with a list of questions to clarify any uncertainties. Inquire about insurance options—does the facility offer coverage, or will you need to arrange it separately? Ask about access hours, especially if you require flexibility outside standard business times. Additionally, understand their emergency protocols. How do they handle situations like natural disasters, power outages, or security breaches? The answers to these questions will help you gauge the provider’s reliability and preparedness.
6.3. Checking Reviews and Reputation
Before making a final decision, take the time to research the facility’s reputation. Look for online reviews on platforms like Google, Yelp, or industry-specific forums. Pay attention to recurring themes in customer feedback, such as exceptional service, prompt issue resolution, or any red flags like poor communication or security lapses. You can also check if the provider is accredited by relevant industry organizations, which adds an extra layer of credibility.
Step 4: Understand the Costs and Fees
Securing a storage unit involves more than just the upfront rental fee. To avoid surprises, it’s essential to understand the full financial picture. Here’s a breakdown of the costs and fees you should consider:
7.1. Rental Fees
The primary expense is the annual or monthly rental fee, which varies depending on the size of the unit and the provider. Smaller boxes for documents or jewelry typically cost less, while larger units for bulkier items come with higher price tags. Be sure to compare rates across multiple facilities to ensure you’re getting a fair deal. Some providers may also offer discounts for long-term commitments, so don’t hesitate to ask.
7.2. Insurance Options
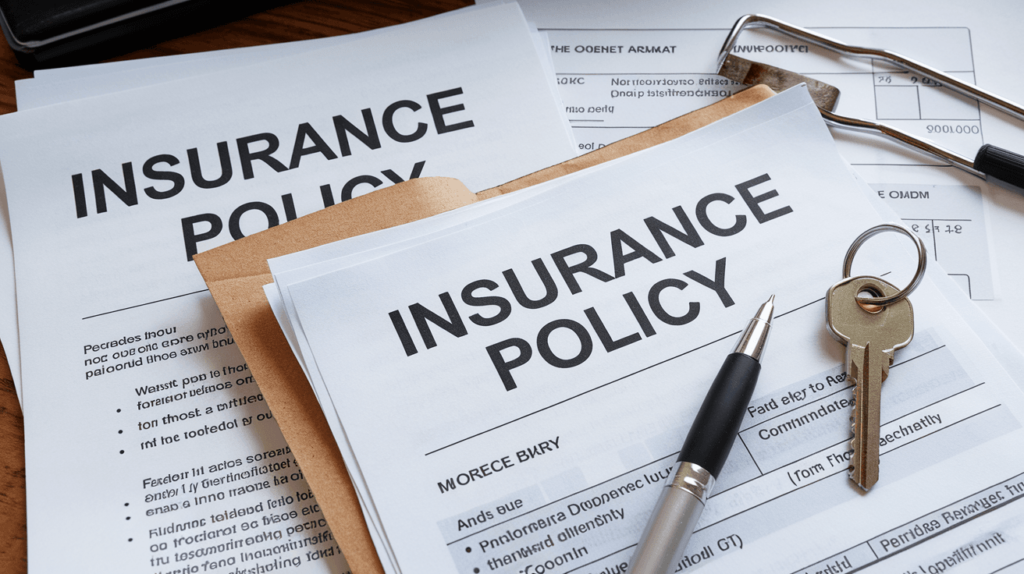
While storage facilities prioritize security, accidents can still happen. Many providers offer insurance packages to cover the contents of your unit in case of theft, fire, or other damages. However, some may require you to purchase separate coverage through a third party. Review the policy details carefully to understand what’s included and whether the coverage limits align with the value of your stored items.
7.3. Additional Charges
Beyond the base rental fee, there may be extra costs to consider. For example, losing your key or access card could result in a replacement fee, which can be substantial if the lock needs to be drilled and replaced. Late payment penalties might apply if you miss a due date, and accessing your unit outside standard business hours could incur a surcharge. Be sure to ask about these potential fees upfront to avoid unexpected expenses down the line.
Step 5: Prepare Your Documentation
Renting a secure storage unit requires more than just selecting a provider and paying the fees. You’ll need to provide specific documents to verify your identity and complete the process. Here’s what to gather before your visit:
8.1. Identification Requirements
Facilities typically require valid government-issued identification to confirm your identity. This could include a driver’s license, passport, or state ID card. Some providers may ask for a secondary form of ID, such as a social security card or employee badge, to further verify your details. Make sure your documents are current and match the information you provide during the application process.
8.2. Proof of Address
In addition to ID, you’ll likely need to prove your residential address. Accepted documents often include recent utility bills, bank statements, or lease agreements. These should display your name and current address clearly. If you’ve recently moved, ensure you have updated records to avoid delays in the approval process.
8.3. Additional Paperwork
Depending on the provider, there may be extra forms or agreements to complete. These could include rental contracts, liability waivers, or insurance acknowledgments. Read through all documents carefully before signing to understand your rights and responsibilities. If you’re sharing the unit with someone else, such as a family member or business partner, they may also need to provide identification and sign the agreement.
Step 6: Rent Your Secure Storage Unit
Once you’ve chosen a facility and prepared your documentation, it’s time to finalize the rental process. This step involves signing the agreement, securing your access credentials, and setting up payment. Here’s what to expect:
9.1. Signing the Agreement
Before gaining access to your unit, you’ll need to review and sign a rental contract. This document outlines the terms and conditions, including the duration of the rental, access hours, and liability policies. Take the time to read through it carefully, paying attention to clauses about late fees, termination policies, and insurance requirements. If anything is unclear, don’t hesitate to ask for clarification.
9.2. Receiving Your Keys or Access Codes
Once the agreement is signed, you’ll receive the tools to access your unit. This could be a physical key, an access card, or a digital code. Store these credentials in a secure location, such as a home safe or a locked drawer, to prevent loss or unauthorized use. Some facilities may also provide a backup key or code for emergencies—make sure you understand the process for retrieving it if needed.
9.3. Setting Up Payment
Most providers offer flexible payment options to suit your preferences. You can choose automatic payments linked to your bank account or credit card for convenience, or opt for manual renewals if you prefer more control. Be sure to note the payment due dates and any grace periods to avoid late fees. If you’re renting long-term, inquire about discounts or incentives for prepaying the annual fee.
Step 7: Organize Your Secure Storage Unit
Now that your storage unit is ready, it’s time to fill it thoughtfully. Proper organization ensures that your items are not only protected but also easy to locate when needed. Here’s how to make the most of your space:
10.1. Creating an Inventory
Start by making a detailed list of everything you plan to store. This checklist should include descriptions, estimated values, and the location of each item within the unit. Keep a digital or physical copy of this inventory in a secure place, such as a home filing cabinet or cloud storage. This reference will save you time and stress when you need to retrieve specific items.
10.2. Using Protective Packaging
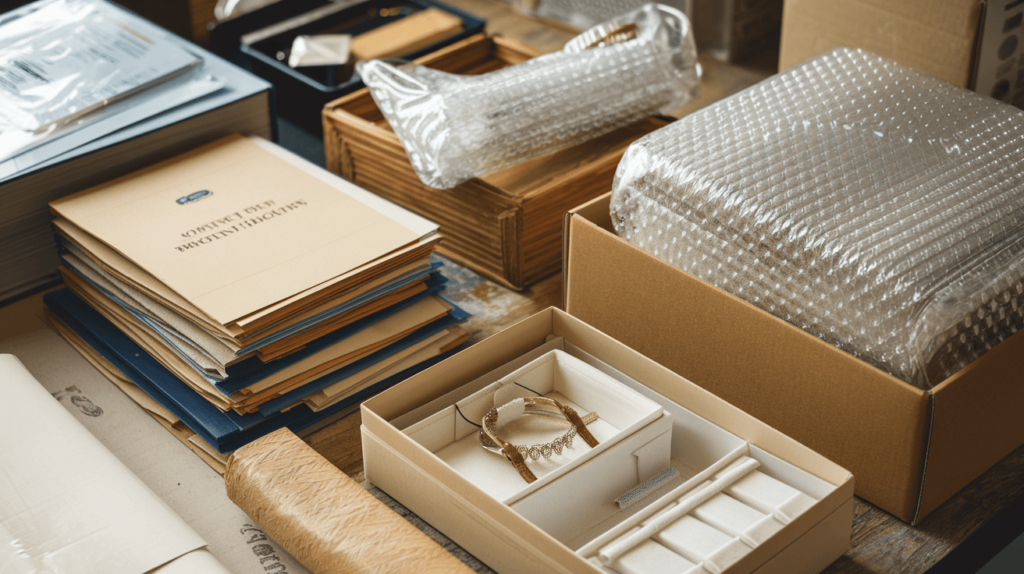
To prevent damage, take extra steps to safeguard your belongings. Use acid-free folders or plastic sleeves for important documents to protect them from moisture and wear. For valuables like jewelry or collectibles, consider padded containers or anti-tarnish bags. Fragile items should be wrapped in bubble wrap or placed in sturdy boxes. These small precautions can make a big difference in preserving your items over time.
10.3. Labeling and Categorizing
Efficient organization starts with clear labeling. Use waterproof labels to mark boxes, folders, or containers with their contents. Group similar items together—for example, keep all legal documents in one section and sentimental keepsakes in another. If your unit has shelves, use them to separate categories for even easier access. A well-organized space not only maximizes storage but also ensures you can find what you need quickly.
Step 8: Accessing Your Secure Storage Unit
Once your items are safely stored, you’ll want to ensure you can access them conveniently when needed. Understanding the facility’s policies and planning ahead will make your visits smooth and stress-free. Here’s what to keep in mind:
11.1. Understanding Access Hours
Every facility has specific operating hours, and these can vary widely depending on the provider. Banks, for example, often limit access to standard business hours, while private vaults may offer extended or even 24/7 availability. Before renting, confirm the access schedule and consider how it aligns with your needs. If you anticipate needing frequent or after-hours entry, prioritize facilities that offer flexibility. Planning your visits around these hours ensures you won’t face unexpected delays when retrieving or adding items.
Step 9: Maintaining Your Secure Storage Unit
Keeping your storage unit in top condition requires regular attention and proactive management. By staying organized and informed, you can ensure your valuables remain protected and accessible. Here’s how to maintain your unit effectively:
12.1. Regular Check-Ins
Periodic visits to your storage space are essential to keep everything in order. Aim to stop by at least once or twice a year to review the contents, update your inventory, and ensure items are in good condition. This is also an opportunity to remove anything you no longer need or add new belongings. Regular check-ins help you stay connected to what’s stored and prevent surprises down the line.
12.2. Renewing Your Rental
Storage agreements typically operate on an annual or monthly basis, so it’s crucial to stay on top of renewal deadlines. Set reminders a few weeks before your contract expires to avoid lapses in coverage. Many providers offer automatic renewal options, which can save you the hassle of manual payments. If you’re considering switching facilities or downsizing, review your contract’s termination policies to avoid penalties. Staying proactive ensures uninterrupted access and peace of mind.
Step 10: What Happens If You Lose Your Key or Forget Your Code?
Losing access to your storage unit can be stressful, but knowing the steps to resolve the situation can ease the process. Here’s what to do if you misplace your credentials:
13.1. Reporting Lost Keys
If you lose your key or access card, notify the facility immediately. Most providers have a protocol in place for such situations, which may involve verifying your identity and signing a declaration of loss. Be prepared to provide identification and any relevant account details. Some facilities may issue a replacement key or card for a fee, while others may require more extensive measures to regain access.
13.2. Drilling the Box
In cases where a replacement key isn’t an option, the facility may need to drill open the lock to grant access. This process typically involves a professional locksmith and can incur additional costs, which are often passed on to the renter. Drilling is a last resort, but it ensures you can retrieve your belongings without delay. Afterward, the lock will be replaced, and you’ll receive new access credentials.
Alternatives to Secure Storage Units
While safe deposit boxes are a popular choice, they’re not the only option for protecting your valuables. Depending on your needs, other solutions might offer greater convenience or flexibility. Here’s a look at some alternatives:
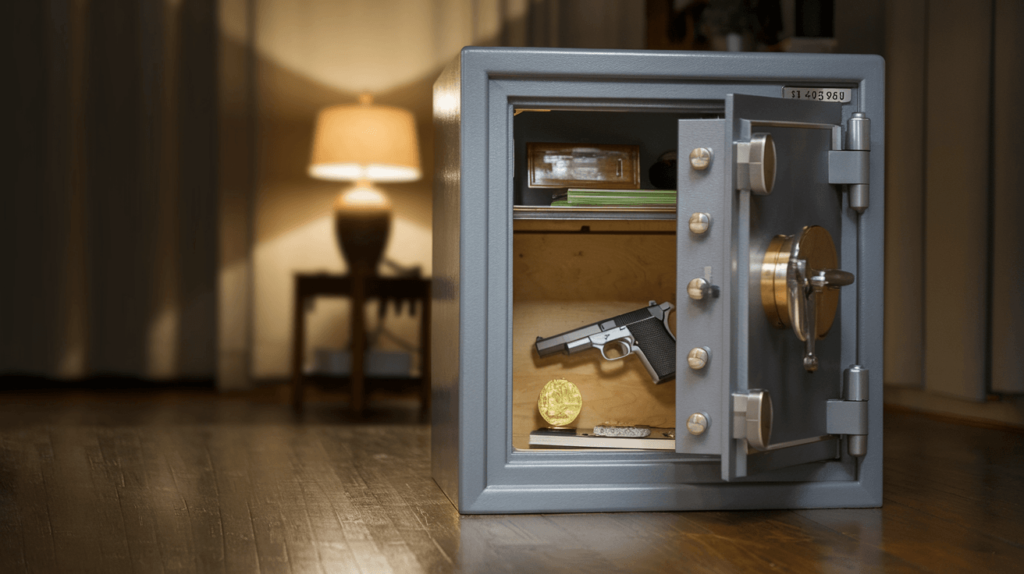
14.1. Home Safes
Storing items at home can be convenient, but it comes with its own set of advantages and drawbacks. Home safes are easily accessible and eliminate the need to visit a facility. However, they may not offer the same level of protection against theft, fire, or water damage as professional storage units. Additionally, home safes are limited in size, making them unsuitable for bulkier items.
14.2. Digital Storage Solutions
For important documents and digital files, cloud-based storage provides a modern alternative. Services like Google Drive, Dropbox, or specialized encrypted platforms allow you to store and access files from anywhere. While digital solutions are excellent for paperwork and media, they’re not suitable for physical items like jewelry or heirlooms. Always ensure your chosen platform has robust security measures to protect sensitive information.
14.3. Secure Storage Units vs. Home Safes
Choosing between a professional storage unit and a home safe depends on your priorities. If maximum security and protection from disasters are your top concerns, a secure storage unit is the better choice. However, if convenience and frequent access are more important, a home safe might suffice. Consider factors like the value of your items, the level of risk in your area, and how often you’ll need to retrieve your belongings.


